Avintage Wine Cooler Error Code: E02
Post Date: June 25, 2024
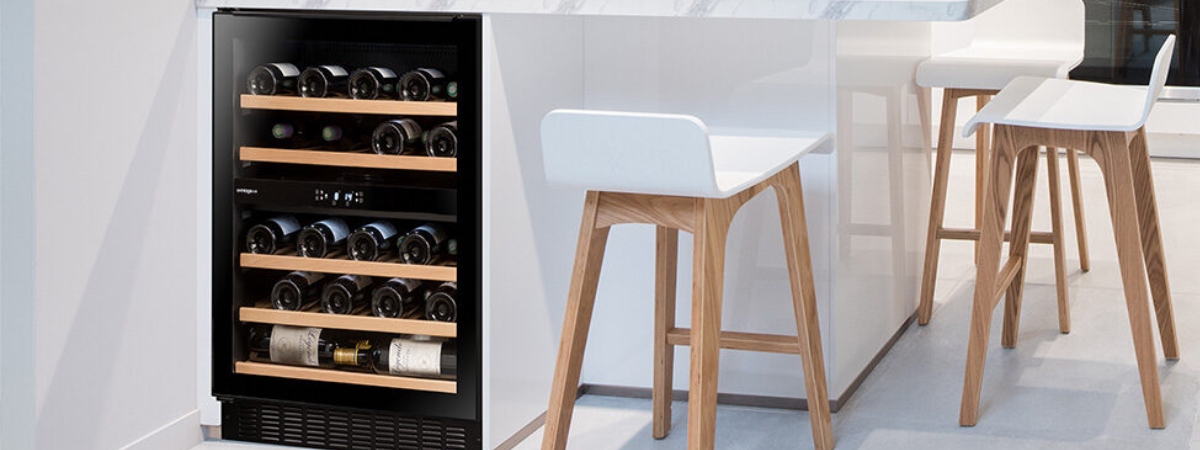
Avintage Wine Coolers are sophisticated appliances designed to maintain optimal storage conditions for your wine collection. Occasionally, these coolers may display error codes to indicate specific issues. One such error is E02, which relates to the temperature sensor located at the top of the cooler. This guide will provide a detailed explanation of the E02 error code, DIY solutions, and preventative measures.
The E02 error code on an Avintage Wine Cooler indicates a problem with the temperature sensor located at the top of the cooler. This sensor, known as P2, plays a crucial role in regulating the heater on the top of multi-temperature cellars. The top heater is an integral component in multi-purpose cellars, ensuring that the upper compartment maintains the desired temperature.
Causes of Error Code E02
The E02 error code can be triggered by the following issues:
- Defective Temperature Sensor: The P2 sensor may be faulty or malfunctioning, which affects its ability to regulate the heater.
- Loose Connection: The connection between the P2 sensor and the PCB (Printed Circuit Board) of the power module may be loose or disconnected.
- Wiring Issues: Damaged or frayed wiring can interrupt the communication between the sensor and the PCB, leading to the error code.
DIY Solutions for Error Code E02
While some repairs require professional assistance, you can attempt the following DIY solutions to resolve the E02 error code. Ensure you have basic tools and a clear understanding of the steps before proceeding.
Step-by-Step Guide to Fixing Error Code E02
Tools Needed
- Screwdriver (Phillips and flathead)
- Multimeter (for testing electrical connections)
- Replacement temperature sensor (if necessary)
- Insulating tape
1. Unplug the Cooler
Before starting any repair, always unplug the wine cooler from the power source to ensure safety.
2. Access the Temperature Sensor
- Locate the Top Panel: Use a screwdriver to remove the screws securing the top panel of the wine cooler.
- Remove the Panel: Carefully lift the panel to access the temperature sensor and its connections.
3. Inspect the Sensor and Connections
- Visual Inspection: Check the P2 sensor for any visible signs of damage or wear. Inspect the wiring and connectors for any loose or frayed connections.
- Check Connections: Ensure that the sensor is securely connected to the PCB. If the connection is loose, firmly reconnect it.
4. Test the Sensor with a Multimeter
- Set Up Multimeter: Set your multimeter to measure resistance (ohms).
- Test Sensor: Place the multimeter probes on the terminals of the temperature sensor. A functioning sensor should show a specific resistance value. Refer to the manufacturer’s manual for the correct resistance range.
- Analyze Results: If the sensor’s resistance is outside the specified range or shows no reading, it is likely defective and needs replacement.
5. Replace the Temperature Sensor (if necessary)
- Remove Old Sensor: If the sensor is faulty, disconnect it from the PCB and carefully remove it from its position.
- Install New Sensor: Connect the new temperature sensor to the PCB and secure it in place.
6. Secure Wiring and Reassemble
- Check Wiring: Ensure all connections are secure and that there are no exposed wires. Use insulating tape to cover any exposed wiring if necessary.
- Reattach Panel: Replace the top panel and secure it with the screws.
7. Test the Cooler
- Plug In the Cooler: Restore power to the wine cooler by plugging it back in.
- Monitor for Errors: Observe the cooler for any reappearance of the E02 error code. If the error persists, it may indicate a more complex issue that requires professional assistance.
Preventative Measures
To prevent the E02 error code and ensure the longevity of your Avintage Wine Cooler, consider the following preventative measures:
Regular Maintenance
- Clean Components: Periodically clean the interior components of the cooler, including sensors and connectors, to prevent dust and debris buildup.
- Inspect Connections: Regularly check the connections between sensors and the PCB to ensure they are secure and free of damage.
Proper Usage
- Avoid Overloading: Do not overload the cooler with too many bottles, as this can affect airflow and temperature regulation.
- Stable Environment: Place the cooler in a stable environment with consistent temperature and humidity levels to minimize stress on the appliance.
Professional Inspections
- Annual Checkups: Schedule annual inspections with a professional technician to thoroughly examine the cooler and address any potential issues before they become major problems.